
Showing posts with label CB110. Show all posts
Showing posts with label CB110. Show all posts
Tuesday, April 28, 2020


Wednesday, February 20, 2019
XRM 110 Caliper on CB110
Marami ang nag tatanong kung anong front caliper daw ang puwede sa CB110 na pamalit sa original. Marami ang nag sasabi na puwede daw ang caliper ng XRM110 pero walang makapag pakita ng picture ang makapag sabi kung paano nila kinabit.
Anyway, dahil tight ang budget ko at kelangan ko ng palitan ang front caliper ni Hansel, napilitan akong bumili ng XRM110 front caliper. Ang ginawa ko, nag hanap muna ako ng mababang presyo ng caliper at ng meron na akong napagtanungan, tinanong ko kung kasya sa CB110, di rin nila masabi. So sabi ko, bahala na dahil di ko magamit si Hansel na wala akong front brake.
Ginawa ko binaklas ko ang original at dinala ko dun sa bibilhan ko para isukat. Nalaman ko na sukat ang caliper pero di ang bracket. Di siya plug and play, kelangan mag butas sa original bracket para mailagay ang caliper ng XRM, problema kelangan ko ng gamitin at wala akong panahon mag pabutas pa.
 |
| XRM 110 Caliper |
 |
| XRM110 Caliper on CB110 |
Ito ang picture ng XRM110 caliper na nakakabit sa CB110 ko. Isang turnilyo lang ang naikabit ko dahil di na abot yung butas ng kasamang bracket sa turnilyuhan ng CB110. Alam kong medyo delikado to dahil isa lang ang sumosuporta sa caliper, ang ginawa ko na lang ay hinigpitan ko ng todo ang turnilyo para walang alog at walang play at ni road test ko.
So far, mag ttwo weeks ko ng gamit ang caliper, nakakapit pa rin siya, di pa ako nag aadjust. Tamang takbo lang naman ako, mga 40-60kph kaya ok lang at mas ginagamit ko ang rear brake ko kesa sa front brake. Kumbaga, pantulong na lang yung front brake.
Sa mga naghahanap ng solution diyan sa pagkabit ng XRM110 na caliper sana makatulong itong post ko.
Saturday, June 16, 2018
Unang goody bag para kay Hansel
Gusto ko talagang kumuha ng panibagong motor para matutukan ang pag ayos kay Hansel ng dirediretso pero dahil kulang ang budget at sa dami ng bayarin ay di na ako nakakuha ng bagong motor at unti-unti ko na lang siyang aayusin o papagandahin.
Di ko alam kung ilang goody bag ang kelangan kong bilhin pa para kay hansel para maibalik siya sa dati niyang alindog kaya subaybayan niyo ang mga piyesang bibilhin at papalitan ko sa kanya sa ilang blog post ko.
Ito ang unang goody bag ko kay Hansel, at ang mga binili ko muna ay:
Hindi naman ganon kalakihan ang presyo pero di rin kasi ako magastos ng basta-basta.Di ko alam kung ilang goody bag ang kelangan kong bilhin pa para kay hansel para maibalik siya sa dati niyang alindog kaya subaybayan niyo ang mga piyesang bibilhin at papalitan ko sa kanya sa ilang blog post ko.
Ito ang unang goody bag ko kay Hansel, at ang mga binili ko muna ay:
- Handle Grip ( Php 150.00 )
- Throttle Pipe ( Php 19.00 )
- Busina ( Php 150.00 )
- Brake Master (XRM) ( Php 250.00 )


Update ako ulit kapag naikabit ko na itong mga piyesang ito.
Ride safe mga kagulong.
Saturday, August 13, 2016
DIY Motorcycle Taillight LED conversion
Naghahanap ako sa net ng conversion ng tail light ng CB110 from stock bulb to LED. Since mahilig naman ako mangalikot puwede kong gawin ito during my day off.
Madami-dami na rin akong nahanap pero siguro ito ang the best guide na nahanap ko.
Please click here to see the original post.
Ito yung diagram niya:

Parts/Material Required –
1 Perforated PCB prototype board (Size depends on your tail light, for me 10 cm x 10 cm was enough)
LEDs -
Red LEDs (Number of LEDs depends on your configuration. I used 46 in my setup),
3 x 1w white LEDs for number plate illumination,
Resistors -
11 x 100 ohm 1/4w,
1 x 100 ohm 1w,
1 x 50 ohm 1/4w,
2 x 250 ohm 1/4w
Diodes-
2 x 1N4001 (If this is not available you can go for 1N4007 as well)
Small Pieces of Wires (Preferably of different colors), 1 Old Tail Lamp Bulb, 3 mm Heat Shrink Tube or Insulation Tape, Hot Melt Glue, (I think M-seal can also be used in this place), Fevicol, Feviquick, Mount board.
Tools Required -
Soldering Iron & wire, Wire Cutter, Hack Saw, File, Scissors, Cutter, Nose Pliers, Lighter (If you are using heat shrink tubes), Glue Gun or Stove (If you are using hot melt glue), 3V & 9V/12 volt battery for testing (You can connect small AA batteries together to make 9V/12V or you can use laptop charger for testing).
Methodology: There are two ways of making the LED running lamp + brake light. Either you can have 2 different sets of LEDs for running light & brake light or you can have all the LEDs (same set) for running light as well as brake light. In the first option you have to make 2 different circuits, connect one to the running lights & other to the brake lights. You will not need diodes & some of the resistors in this type of set up. I have used the same set of LED’s for running light and brake light.
Whichever setup you employ, I would recommend connecting at least 3 and max 4 LEDs in series. These strings of 4 LEDs in series can then be connected in parallel to form the complete circuit. Please refer to the circuit diagram given below. I have total 46 red LEDs; the result is satisfactory (But not too bright). If you want higher intensity then you will have to pack about 90 red LEDs, 46 may not be enough. This is because our tail lamp has diffused lens and our setup does not contain any LED reflector as well. Alternatively, you can find the clear tail lamp lens & find out some LED reflector or fit LEDs in the bezel which will improve the intensity a lot and you may not need to increase number of LEDs. I think the stock tail light reflector from the Hero Hunk can be installed in FZ16, of course with few modifications. (I have not tested this, only kept as an option for version 2 setup)


Para sa step by step instruction kung paano niya ginawa, paki click na lang yung link. Pinost ko lang ito dito para reference ko at baka ma-delete yung post niya.
Again, credit goes to the original poster GauravB728 of xBhp.
Madami-dami na rin akong nahanap pero siguro ito ang the best guide na nahanap ko.
Please click here to see the original post.
Ito yung diagram niya:

Parts/Material Required –
1 Perforated PCB prototype board (Size depends on your tail light, for me 10 cm x 10 cm was enough)
LEDs -
Red LEDs (Number of LEDs depends on your configuration. I used 46 in my setup),
3 x 1w white LEDs for number plate illumination,
Resistors -
11 x 100 ohm 1/4w,
1 x 100 ohm 1w,
1 x 50 ohm 1/4w,
2 x 250 ohm 1/4w
Diodes-
2 x 1N4001 (If this is not available you can go for 1N4007 as well)
Small Pieces of Wires (Preferably of different colors), 1 Old Tail Lamp Bulb, 3 mm Heat Shrink Tube or Insulation Tape, Hot Melt Glue, (I think M-seal can also be used in this place), Fevicol, Feviquick, Mount board.
Tools Required -
Soldering Iron & wire, Wire Cutter, Hack Saw, File, Scissors, Cutter, Nose Pliers, Lighter (If you are using heat shrink tubes), Glue Gun or Stove (If you are using hot melt glue), 3V & 9V/12 volt battery for testing (You can connect small AA batteries together to make 9V/12V or you can use laptop charger for testing).
Methodology: There are two ways of making the LED running lamp + brake light. Either you can have 2 different sets of LEDs for running light & brake light or you can have all the LEDs (same set) for running light as well as brake light. In the first option you have to make 2 different circuits, connect one to the running lights & other to the brake lights. You will not need diodes & some of the resistors in this type of set up. I have used the same set of LED’s for running light and brake light.
Whichever setup you employ, I would recommend connecting at least 3 and max 4 LEDs in series. These strings of 4 LEDs in series can then be connected in parallel to form the complete circuit. Please refer to the circuit diagram given below. I have total 46 red LEDs; the result is satisfactory (But not too bright). If you want higher intensity then you will have to pack about 90 red LEDs, 46 may not be enough. This is because our tail lamp has diffused lens and our setup does not contain any LED reflector as well. Alternatively, you can find the clear tail lamp lens & find out some LED reflector or fit LEDs in the bezel which will improve the intensity a lot and you may not need to increase number of LEDs. I think the stock tail light reflector from the Hero Hunk can be installed in FZ16, of course with few modifications. (I have not tested this, only kept as an option for version 2 setup)


Para sa step by step instruction kung paano niya ginawa, paki click na lang yung link. Pinost ko lang ito dito para reference ko at baka ma-delete yung post niya.
Again, credit goes to the original poster GauravB728 of xBhp.
Monday, December 29, 2014
CB110 Flasher Relay replacement
Na encounter niyo ba ung kakapalit niyo lang ng signal light bulb niyo dahil pundido na pero pag palit niyo ayaw ng gumana o mag blink?
Ganyan ang nangyari sa akin. Ang problema, ung right side lang ang di nag bblink pero ung left side gumagana.
Nag tanong-tanong ako kung anong posibleng problema, may nag sabi RELAY, ung iba WIRING at ung iba BULB. Inuna kong icheck ang wiring at bulb pero ganon pa din kaya bumili na rin ako ng flasher relay. Nung napalitan ko ung relay gumana na.

Sunday, October 26, 2014
Unang subok ko sa pag kabit ng carbon fiber sticker
Madami ng mga gasgas at kupas na plastic si Hansel at pinag iisipan ko dati kung pipinturahan ko o kakabitan ko ng carbon fiber na sticker at napag desisyonan ko na mag sticker na lang.
So, bumili ako ng carbon fiber sticker at kagabi nga ay sinubukan ko sa heat guard ng tambutso ko.
Ito ang transformation na nangyari. Sa ngayon ok na ako, pero siguro katagalan ay makukuha ko na rin ang tamang technique sa pagkabit ng carbon fiber sticker.


Wednesday, October 22, 2014
Bagong Front Brake Master at Chain Tensioner
Halos ilang buwan din akong nag tiis ng palyadong front brake simula nung nasira siya at inaayos namin sa pamamagitan ng pag palit ng repair kit mula sa HONDA na nag kakahalaga ng 600+, pero ganon pa din palyado at lumulusot pa din preno ko hanggang di na siya gumana kaya puro na lang ako foot brake.
Hanggang dumating sa punto na di ko na matiis na wala akong front brake. Ako kasi ung rider na parehong preno ang gamit pag nag bbrake.
Nag isip-isip ako kung anong options ko kung aayusin ko preno ko; 1-palitan lang ang brake hose, 2-bumili ng repair kit ulit, 3-palitan ang master. Nag tanong tanong ako ng master at ang presyong nakuha ko ay mga 750. So, inisip ko, kung repair kit ulit, 600 na naman un, samantalang pag master buo na siyang papalitan kaya nag desisyon ako na ung master na lang palitan ko.
Habang nag iipon, nag post ang kakilala kong rider din na may binebenta siyang bagong master at 350 lang, at meron din siya nung MONSTER CHAIN TENSIONER na hinahanap ko, kaya umorder na ako sa kanya.
Kung ako ang tatanungin mas ok na mag palit ng buong master kesa bumili ng OEM repair kit. Sa diperensya palang sa presyo, di na kelangang pag isipan ng mabuti kung alin ang bibilhin mo.
Sa ngayon napalitan ko na ang master ko at naikabit na rin ang chain tensioner.


Thursday, September 4, 2014
Update sa carrier / bracket ng cb110 ko.
Late post mga boss.
Pictures ng pag gawa ng stainless carrier / bracket ko. Tested na matibay at walang lundo. Kinakargahan namin ng mga 15 kilos na bigas at 3 box ng zesto orange.


Friday, August 29, 2014
Another tip for honda cb110 owners
Sa mga Honda CB110 owners, paki check ung picture.
Ung wiring harness na yan galing sa headlight assembly natin ay nag iipon ng tubig. Ngayong tag ulan malamang ay napasukan na yan ng tubig. Paki HIWAAN o BUTASAN niyo para may malabasan ung tubig. Isang napaka simpleng gawain para maiwasan ang mas malaking problema.
Nung nalaman ko ito, binutasan ko agad ung harness at may tumulong tubig. Malamang ito rin ang dahilan kung bakit mahina busina ko pag tag ulan dahil sa short circuit sa loob ng harness.
3 years na ang motor ko at ngayon ko lang nalaman na nag iipon pala ito ng tubig.
Paki share na lang sa mga kakilala niyong naka cb110.
*photo credit for the original poster in cb110 fb page.

Sunday, September 30, 2012
DIY Tank Side Protector
As I am reading some threads in MCP (Motorcycle Philippines), I came across a thread asking for any Tank Side Protector for his Honda CB110.
As I own a CB110, I also did try looking for a Tank Side Protector before but was dismayed as there ano no local / fake Tank Side protector, most of the tank side protector that I saw is either advertised abroad or order abroad, which cost around Php 3,500. Which, for most of us is not a good price to pay especially if you simply own a not that expensive motorcycle such as a CB110 or Rouser 135.
One original manufacturer of tank grip is TechSpec, you can visit their site following the link below:
http://techspec-usa.com/product_overview.php
Here is a sample tank grip from TechSpec:

For us, instead of purchasing this, we can use Carbon Fiber sticker which are readily available almost anywhere and will cost less and is available in different colors.

Once you purchase a carbon fiber sticker then you can follow the steps below on how to create your own tank grip.
http://www.fz6-forum.com/forum/fz6-mods/2766-techspec-tank-grips.html
1. Create a layout for your tank

2. Trace your layout on your carbon fiber sticker; cut and stick on your tank.

Remember, this may help in reducing scratches on your tank but this does not give the same comfort as the original tank grip. Again, this is a cheap alternative for having a tank side protector grip.
As I own a CB110, I also did try looking for a Tank Side Protector before but was dismayed as there ano no local / fake Tank Side protector, most of the tank side protector that I saw is either advertised abroad or order abroad, which cost around Php 3,500. Which, for most of us is not a good price to pay especially if you simply own a not that expensive motorcycle such as a CB110 or Rouser 135.
One original manufacturer of tank grip is TechSpec, you can visit their site following the link below:
http://techspec-usa.com/product_overview.php
Here is a sample tank grip from TechSpec:

For us, instead of purchasing this, we can use Carbon Fiber sticker which are readily available almost anywhere and will cost less and is available in different colors.

Once you purchase a carbon fiber sticker then you can follow the steps below on how to create your own tank grip.
http://www.fz6-forum.com/forum/fz6-mods/2766-techspec-tank-grips.html
1. Create a layout for your tank

2. Trace your layout on your carbon fiber sticker; cut and stick on your tank.

Remember, this may help in reducing scratches on your tank but this does not give the same comfort as the original tank grip. Again, this is a cheap alternative for having a tank side protector grip.
Tuesday, May 22, 2012
Another CB110/Twister with Rim
Here is another CB110 / Twister with Rim wheels instead of mags.
https://www.facebook.com/photo.php?fbid=10150609285117217&set=o.201268826580558&type=1&theater

https://www.facebook.com/photo.php?fbid=10150609285117217&set=o.201268826580558&type=1&theater
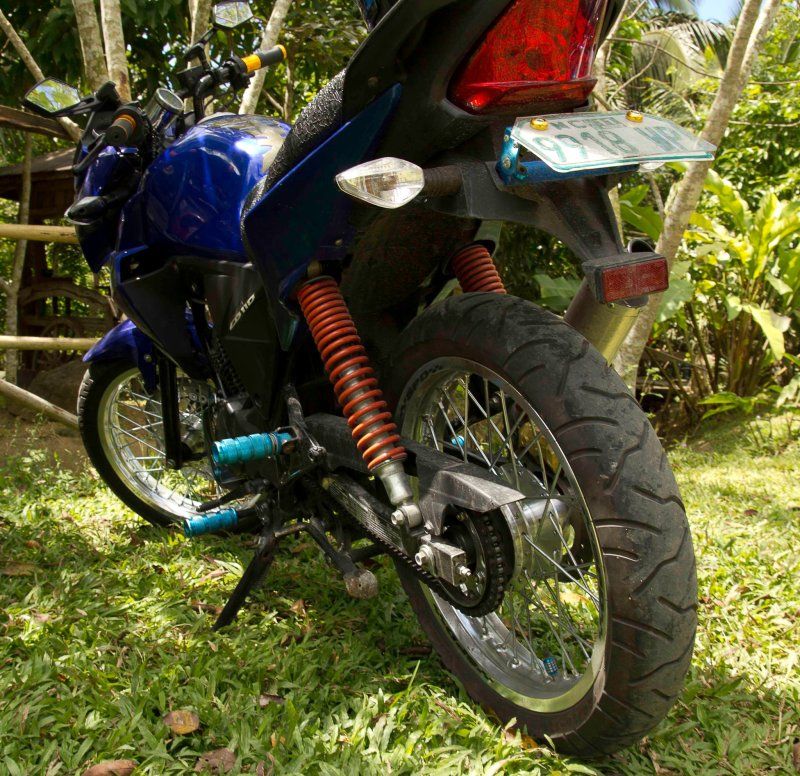
front rims 2.15 ung rims 100/80 and rear 2.50 rims 120/70 both size are 17"
Friday, May 18, 2012
CB110 with Rim instead of Mags
I'm posting this as a reference for other CB110/Twister owner who are planning to change their wheels.
We know that CB110/Twister comes with mags but if you have the money, then you can change it to rims and it will still look good.
For the picture, I got it from a post in Facebook (CB110 Modification group). So don't ask me for the specs of the rim and tire as I do not know anything about it. For the CB110/Twister owner, if you see this picture, please inform me so I can put your name and email on this post as my way of giving credit to its owner.
For other CB110/Twister owner, lets drool over this and hopefully in the future we can make our CB110/Twister the same as pictured.
Ride safe guys!

We know that CB110/Twister comes with mags but if you have the money, then you can change it to rims and it will still look good.
For the picture, I got it from a post in Facebook (CB110 Modification group). So don't ask me for the specs of the rim and tire as I do not know anything about it. For the CB110/Twister owner, if you see this picture, please inform me so I can put your name and email on this post as my way of giving credit to its owner.
For other CB110/Twister owner, lets drool over this and hopefully in the future we can make our CB110/Twister the same as pictured.
Ride safe guys!

Tuesday, April 3, 2012
CB110 Sprocket Conversion
This was taken from Boss Owen Teodoro Escuadra post in CB110 Modification:
Most of us are having a problem in purchasing aftermarket parts for our CB110.
If you are planning to replace your stock rear sprocket you may encounter a problem looking for an exact replacement, thus, I am posting this as this can serve as a good reference for all CB110 owners.


Boss Owen post:
SPROKET Conversion lang yan, mahal kasi ang orig na sproket ng cb natin..pang raider yan 428/42 teeth, nagpaturno lang ako..15 teeth ang fornt ko
nagpalit na rin ako ng chain-taksago brand, 120chains..for the sproket , P250, paturno- p150, kaya 400 may rear sproket kana, compare sa p1200 ng HP. basta ang bilihin nyo bro yung plain surface ng sproket raider150/428..tapos patorno nyo nalang sa machine shop..
Most of us are having a problem in purchasing aftermarket parts for our CB110.
If you are planning to replace your stock rear sprocket you may encounter a problem looking for an exact replacement, thus, I am posting this as this can serve as a good reference for all CB110 owners.
Please look at the images below:
( Orig Sprocket (Left) / Raider Sprocket (Right) )
Before
( Orig Sprocket (Left) / Raider Sprocket (Right) )
After
Boss Owen post:
SPROKET Conversion lang yan, mahal kasi ang orig na sproket ng cb natin..pang raider yan 428/42 teeth, nagpaturno lang ako..15 teeth ang fornt ko
nagpalit na rin ako ng chain-taksago brand, 120chains..for the sproket , P250, paturno- p150, kaya 400 may rear sproket kana, compare sa p1200 ng HP. basta ang bilihin nyo bro yung plain surface ng sproket raider150/428..tapos patorno nyo nalang sa machine shop..
Tuesday, February 21, 2012
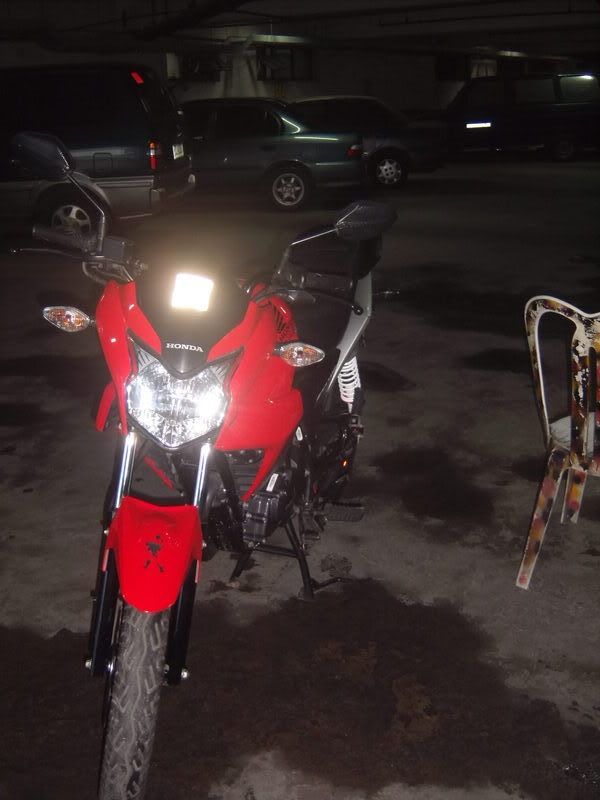
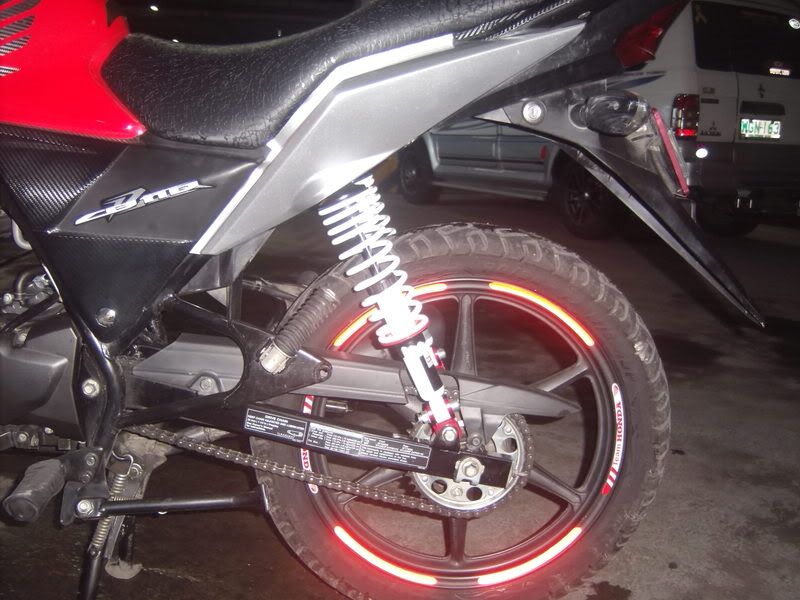
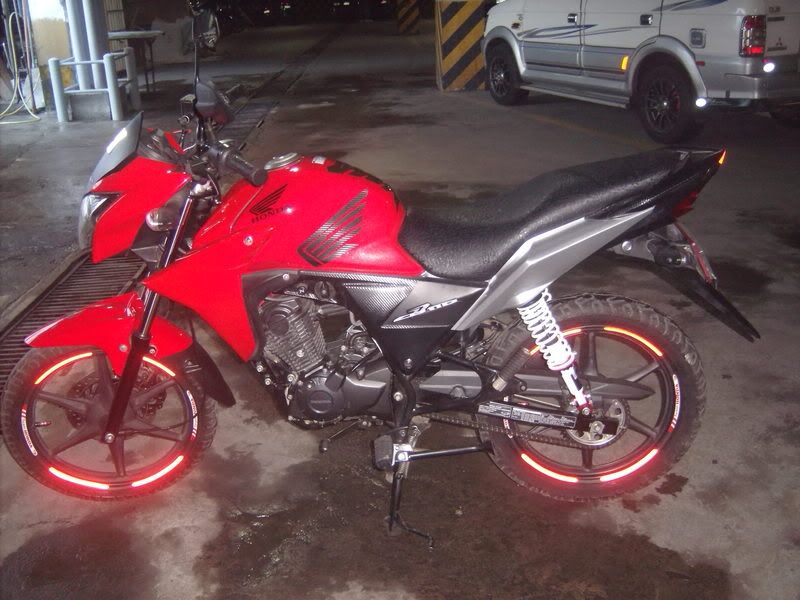
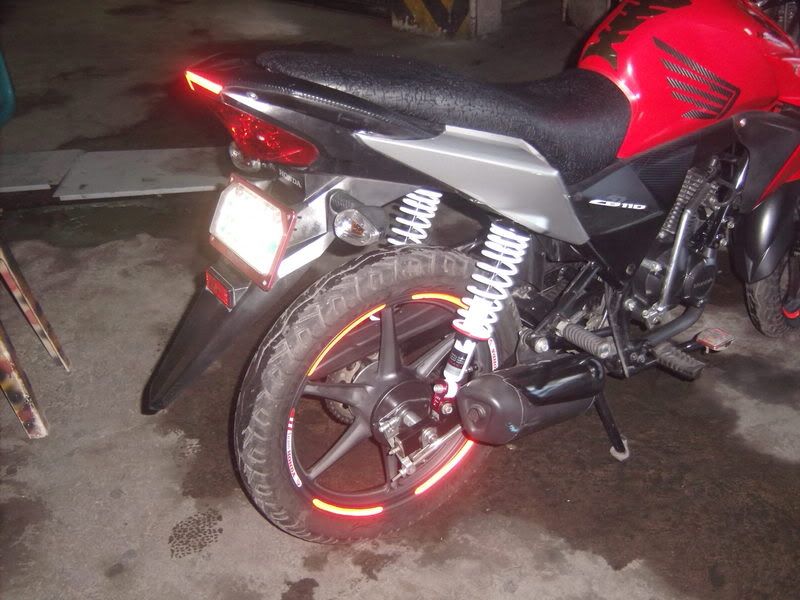
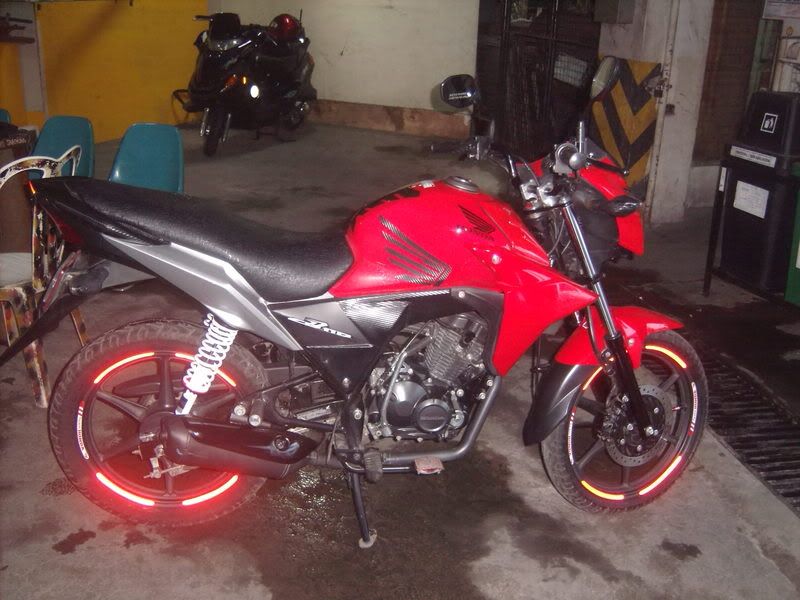
Monday, February 6, 2012
HANSEL "ZORRO" STYLE HANDLE BAR
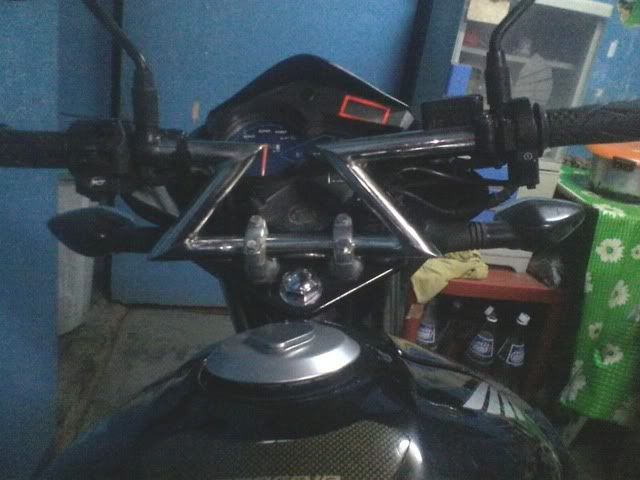
Last Sunday (10/16/2011), after Dark Knight gave me the handle bar, I was able to have some time to replace the stock handle bar of my CB110 with the Zorro type handle bar.
Below are some pictures of the Zorro Handle bar on my CB110.
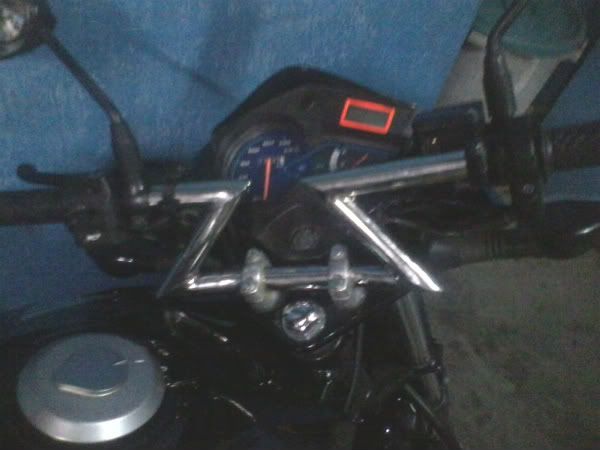
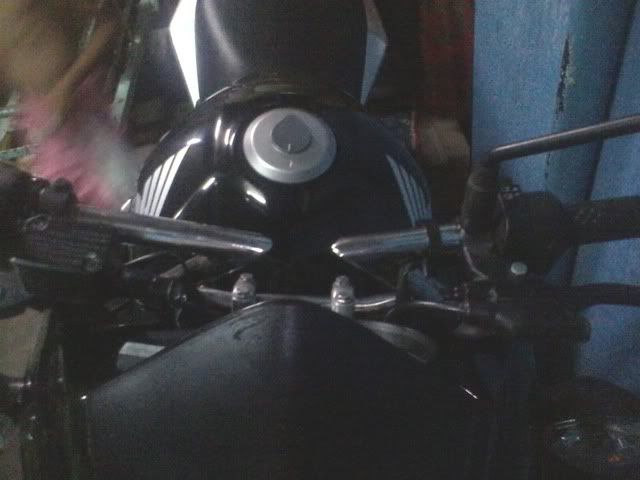
Hansel had been sealed.
For the past 2 weeks I had been adding air to my rear wheel everyday. I know that there is something wrong with my tire but thinking of the hassle of removing and bringing the tires to a vulcanizing shop makes me not to have my tire vulcanize.
Then last Saturday when I went to Cainta and cleaned my motorcycle, we (My father and I) found that there is a small hole on my tire and again I was advice by my father to have it vulcanized but knowing how much it cost to have a hole repaired in a tubeless tires (PHP 60.00 FYI) I informed my father that I'm planning to have CYCLESEAL installed on my tires.
So after clearning my motorcycle, I immediately text that number I got from MCP for a Cycleseal dealer in Las Pinas and asked how much and what time are they going to close. I was informed that the price is PHP 350.00 (as expected) and they will be close at around 5pm. So after having lunch and resting for awhile I asked my parents that I have to go home so I can have Cycleseal installed in my tires.
Below are some of the pictures taken while Hansel tires are being filled with CycleSeal.


As of now, I'm very satisfied with the product as the small hole cannot be searched after we put the Cycleseal in my rear tire.
Thank you very much Cycleseal for this wonderful product and Thank you to Sir Ricky of Skutzko for taking the time to install the Cycleseal.
Friday, November 11, 2011
Hansel First Valve Adjustment
This is really a late post (very busy at the office and no internet at home).
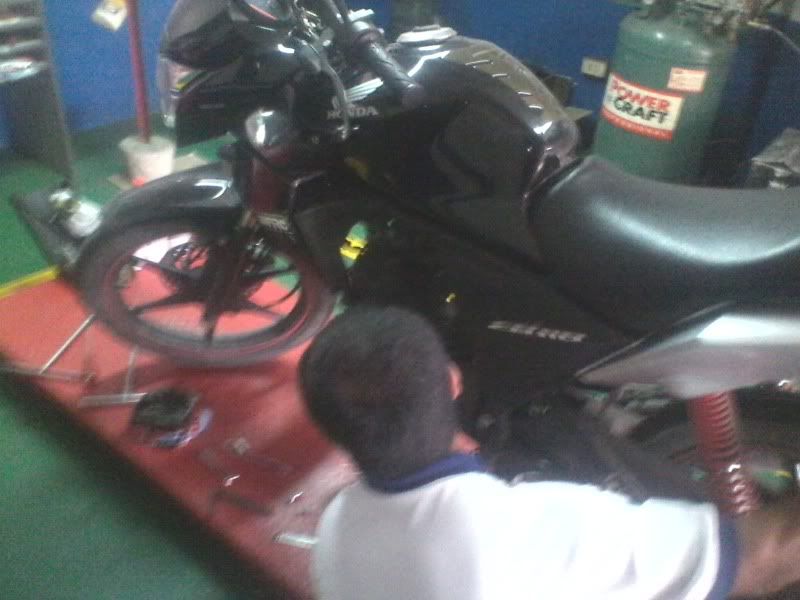
Anyways, last October 2, I brought Hansel to Honda Prestige Bacoor and use my last free coupon, for 6000kms up. The reason that I brough Hansel for tune-up is because after typhoon Pedring I felt that Hansel is running differently. It seems that there is something wrong but I can't identify it.
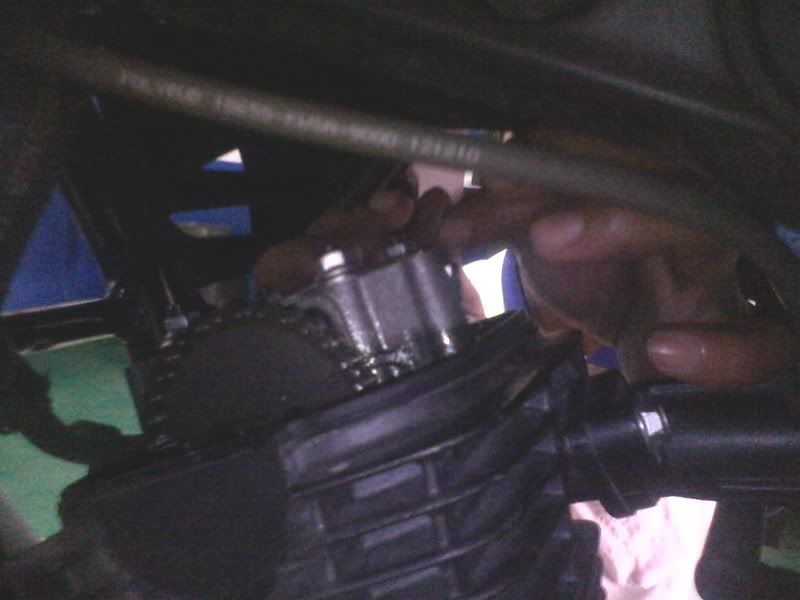
So, as scheduled, I brought him to my favorite 3S shop and when its our turn, Chris, the mechanic on duty on that day asked me what was to be done with Hansel. I told him that I wanted to have whatever is the free service indicated on the 3rd coupon be done (in short....tune-up). I also told him that Hansel seems to run differently (after we fight and survive the winds of Pedring). So, what he did was to start Hansel and listen to the engine. Chris then told me that we need to check the valve clearance and so, he remove the valve cover and when he measured the clearance, well...as he mentioned it does not have the correct clearance anymore. So Chris, adjusted both valve and after adjusting performed the other task stated on the coupon. When I rode Hansel home, I can feel a big difference before the tune-up was performed and after it was done.
Thank you Chris for a job well done....Will surely miss him once I transfer to Cainta.
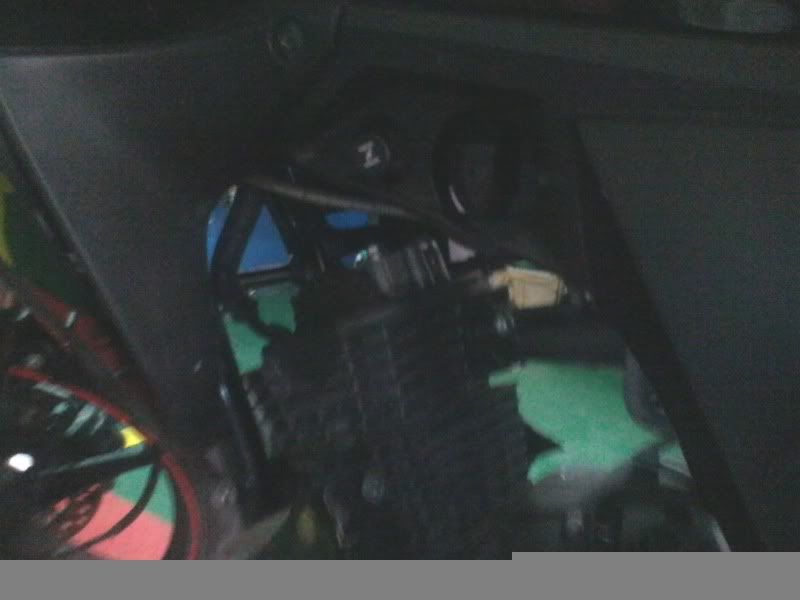
Below are some pictures take while Chris is performing the valve adjustment.

Subscribe to:
Posts (Atom)